We’d argue that anybody with a website needs site monitoring, and our latest tool is no exception. As with all of our web performance tools, we strive to make setup as quick and hassle-free as possible.
Visitor Insights is no exception: whilst it collects an incredible amount of visitor data from your site, setting it up can be done in a few minutes. Don’t believe us? See for yourself how easily it’s done in the video below:
Missed that?
No worries, just follow our step-by-step instructions below for a problem-free Visitor Insights setup:
1. Go to Visitor Insights in My Pingdom
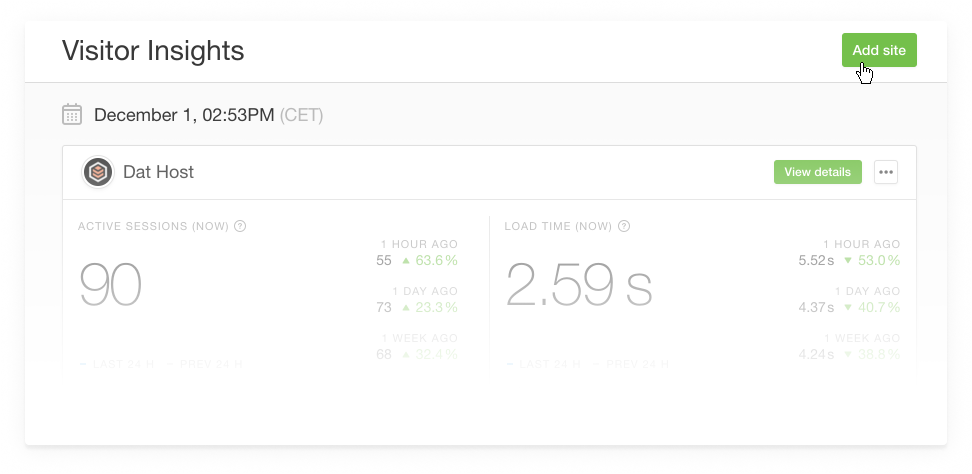
Click on ‘Add Site‘ in the top right-hand corner.
2. Enter the site you want to monitor and get your snippet
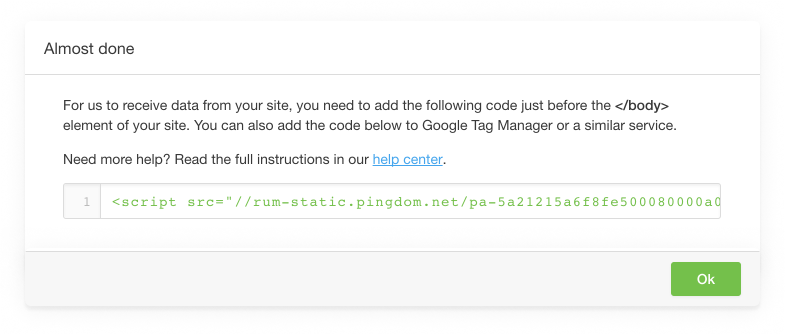
Don’t forget to name your site in My Pingdom, especially if you plan to have several checks later.
3. Implement your code snippet

You can implement it directly into your site or through your tag management system, like Google’s Tag Manager. If you’re implementing it directly, don’t forget to do so just before the </body> tag of your site.
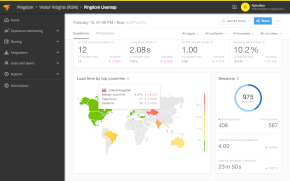
Within seconds you’ll see your site visitor data appear in your Visitor Insights dashboard in My Pingdom.
It’s that simple!
