People using our services would be very familiar with our basic HTTP Uptime check by now. After all, it’s our most used feature. Something a lot of our users might not know is that you can make the HTTP checks more advanced by using the Optional settings of the check.
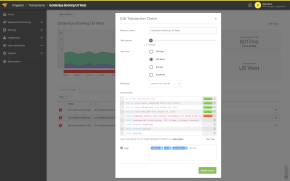
You find these settings under the Optional tab when you either set up a new check or edit an existing one.
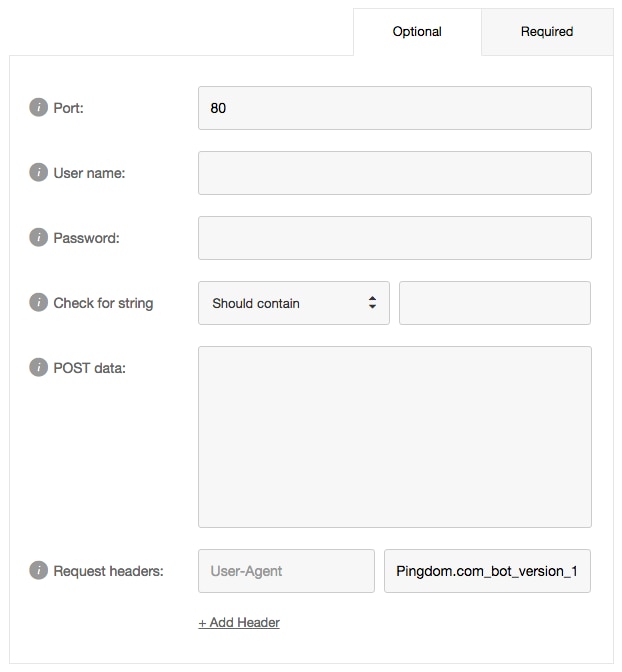
These settings are there to enable you to customize the check after any more advanced needs you might have for monitoring. That could be for example needing authorization in order to access the site before checking the status of it.
We’ll walk you through the different features available in the Optional settings, and things you could use them for!
Port
The standard port for HTTP is 80, and the standard for HTTPS is 443. However, not all websites or servers can be reached via those two ports, and in these cases you can change to the appropriate port number here.
Please note that adding the wrong port number will mark the website as down, and you don’t want to muddle up your stats!

User name and Password
These two fields are essential to your check setup if you want to monitor a website using Basic auth. Basic auth is an authorization method where, before you even can load the site, you are asked to provide login credentials.
If you check a Basic auth site without adding the Username and Password, the check will fail.

Check for string
This field is one of the more important ones, since a website can be down in so many different ways. It can have error codes; it can be too slow to reach; get stuck in redirect loops or be down for business entirely.
The HTTP Uptime check will catch all of these errors without any customization on your part – no worries – but there is one thing the check could fail to pick up on.
If a website shows a correct status code (200 OK) our check will assume that the site is fine, even if there is something wrong with the content of the page. Sometimes a website might be configured to display an error page in case of an outage, but still give out that 200 OK, and then you will not get an alert. Luckily for you, we have a solution for that.


Check for string allows you to add a string of text from your website’s source code. Why this is useful is that even if your website might seem fine at a glance when our servers check it, if the string cannot be found on the page, the check will be marked as down and send you an alert.
You can either instruct the check that the website “should contain” or “should not contain” any sentence or any part of the code, that you consider essential for the site to either be up or down.
This feature can also be used to alert you if something changes on the page. The check, even with Check for string added, will still alert you of other things that might go wrong – timeouts, error codes, the works.
Let’s say you’re monitoring an API and you don’t want a certain value to be reached, you can set the Check for string field to “Should not contain” and include the specific value. Whenever the value appears on the page, you would be notified, and can act accordingly.
Another nifty thing you could use this feature for is to alert you of tickets becoming available for a concert or a convention – the possibilities are endless. The only downside really with Check for string is that you can only have one, so choose wisely!
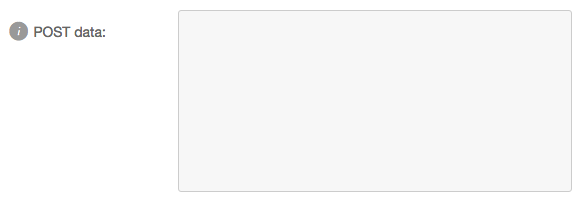
POST data
The POST data field is pretty self-explanatory: the HTTP check will send a GET request to your website or server, for the HTML and headers of your website.
The POST data field gives you the option to turn this GET request into a POST request. This can have many uses, one being that you could make the check send submission data for any login or signup forms you might have on your page.
The data needs to be formatted in the same way as a web browser would send it to the web server, and can’t contain any line breaks. There is a limit on 2048 characters for the POST field.
This field can further be used to make SOAP requests in place of either a GET or POST request. So if you have any SOAP services in need of monitoring, you’re in luck.
Request headers
Sometimes a web page can’t be reached unless presented with a cookie first. Perhaps the site needs to be told to accept encoding or text/xml. This is quite common with some sites, and that’s where you’d have use for the Request header fields.
You can either select one of the most commonly used headers we have added, simply by clicking the Request header field, or you could add a custom one simply by typing it into the field.
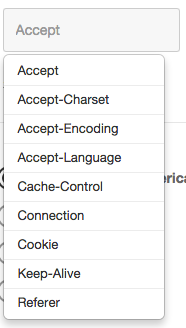
Another thing you can do with the request headers is modifying the user-agent used field. The user-agent header is the only one we add to all HTTP checks by default.
We use our own Pingdom BOT to make the requests, but if your site doesn’t allow BOTs, or if you’d like to emulate a certain browser or perhaps even a mobile user, you are free to make changes to the user-agent field. The only thing you can’t do is remove it!

And that’s the Optional settings page of the HTTP check. The things mentioned are just a few of the things you can do with the check. If you have questions about anything specific, or would like help setting any of this up, feel free to reach out to the Pingdom Support team via phone or email!
