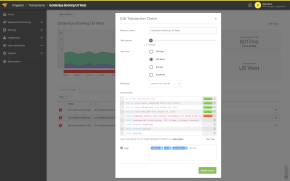
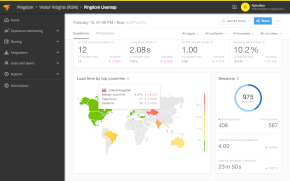
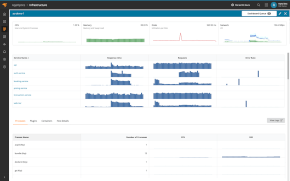
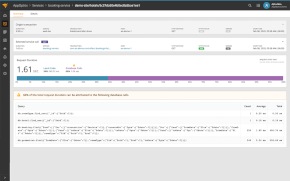
The brand new Team plan, introduced just a short while ago, is meant for customers that require more of everything. If you have considerable website monitoring needs, it’s the plan for you. You can monitor up to 500 sites or transactions, tag checks making it possible to filter and sort all your checks, the possibility of paying by invoice, and much more. Like all other Pingdom plans, it also includes Real User Monitoring.
One of the most sought after features we added to the Team plan is multi-user log in. Now you can have multiple users per account and control what each user should be able to do, including access to subscription and billing information, the ability to edit checks, etc. Let’s take a closer look at what you can do with multi-user log in.
Invite user
To get started with multi-user log in you have to invite other people to your Pingdom account. You do this very simply by going to Account > Users when you’re logged in to my.pingdom.com.
There you click on the Invite User button.

Next, on the Invite new user screen, enter the email address of the person you want to invite. Then, select what kind of user type they should be.
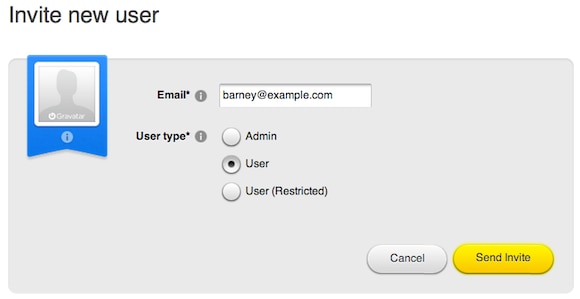
When you click the Send Invite button, an email is sent to the user you’re inviting. In the email, they have to click a link and follow some simple instructions to get started.
Three user types
Each user you invite to your Pingdom account can be of one type: admin, user, or restricted user. Here are some of the main differences between the user types:
-
Admin
-
Same as the owner of the account, the admin user can make any changes to the account, checks, etc. This includes changing subscription and billing information and inviting new users. However, only the account owner can close an account.
-
-
User
-
Someone with the user type account can add and edit checks, as well as view reports. They can not, however, access subscription and billing information.
-
-
Restricted user
-
A restricted user can view checks but not make any changes to them. They can also view reports.
-
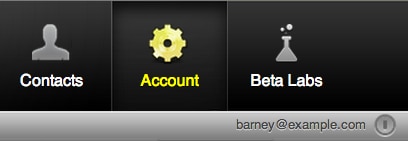
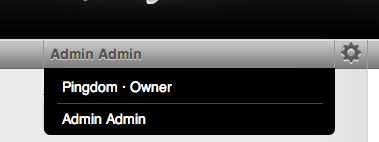
The various user types will see some differences in their my.pingdom.com account. For example, here is the Account menu as admin:

For users and restricted users, the menu is not displayed:
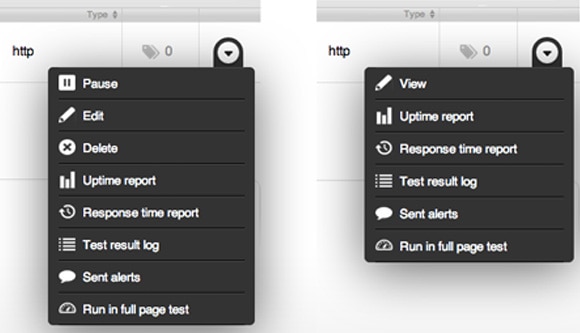
Here is the drop-down menu available on the Checks page for a user (left) and a restricted user (right):
Switch accounts
You can of course very easily switch between the accounts you have access to. Just click on your username in the bar just below the row of icons in the main menu and you can choose which account you want to use.
Notice that the bar will be gray whenever you are in the account shared with you, and yellow when you are in your account.
Receive notifications
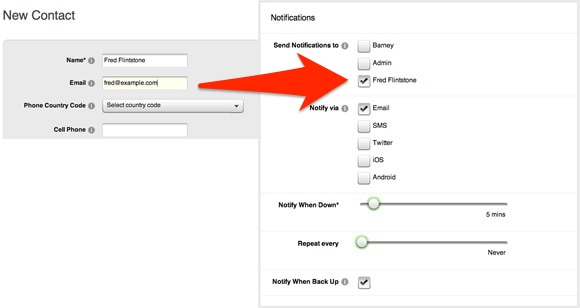
If you’ve been given access to another Pingdom account, you can of course also receive notifications for when checks in the main account fail. You do this simply by adding yourself as a contact.
Go to Contacts > Add New Contact, and enter your details. After you’ve saved the new contact’s details, you can add yourself to receive notifications for the check.
Feedback and support
Hopefully you are already using the multi-user log in feature. If you are, why don’t you share your experience with the rest of us in the comments below?
We hope you will also check out other features, such as Real User Monitoring and Transaction Monitoring, and we’re confident that you will find they will become invaluable tools in your web monitoring and performance toolbox.
We will be back soon again with more articles about the Team plan. In the meantime, if you have any suggestions for what you would like to see added to the Team plan, you can tell us about it here.
Image (top) via Shutterstock.
